Here the parade of pictures continues, with a few words thrown in between...

I have had this throw since I was 14 and my parents allowed me to redecorate my room. I thought this throw and the wooden shelves, lace-trimmed pillows, and candles hanging from pegs was very stylish. Why yes, it was the early 1990's....

Hobby Lobby fabric

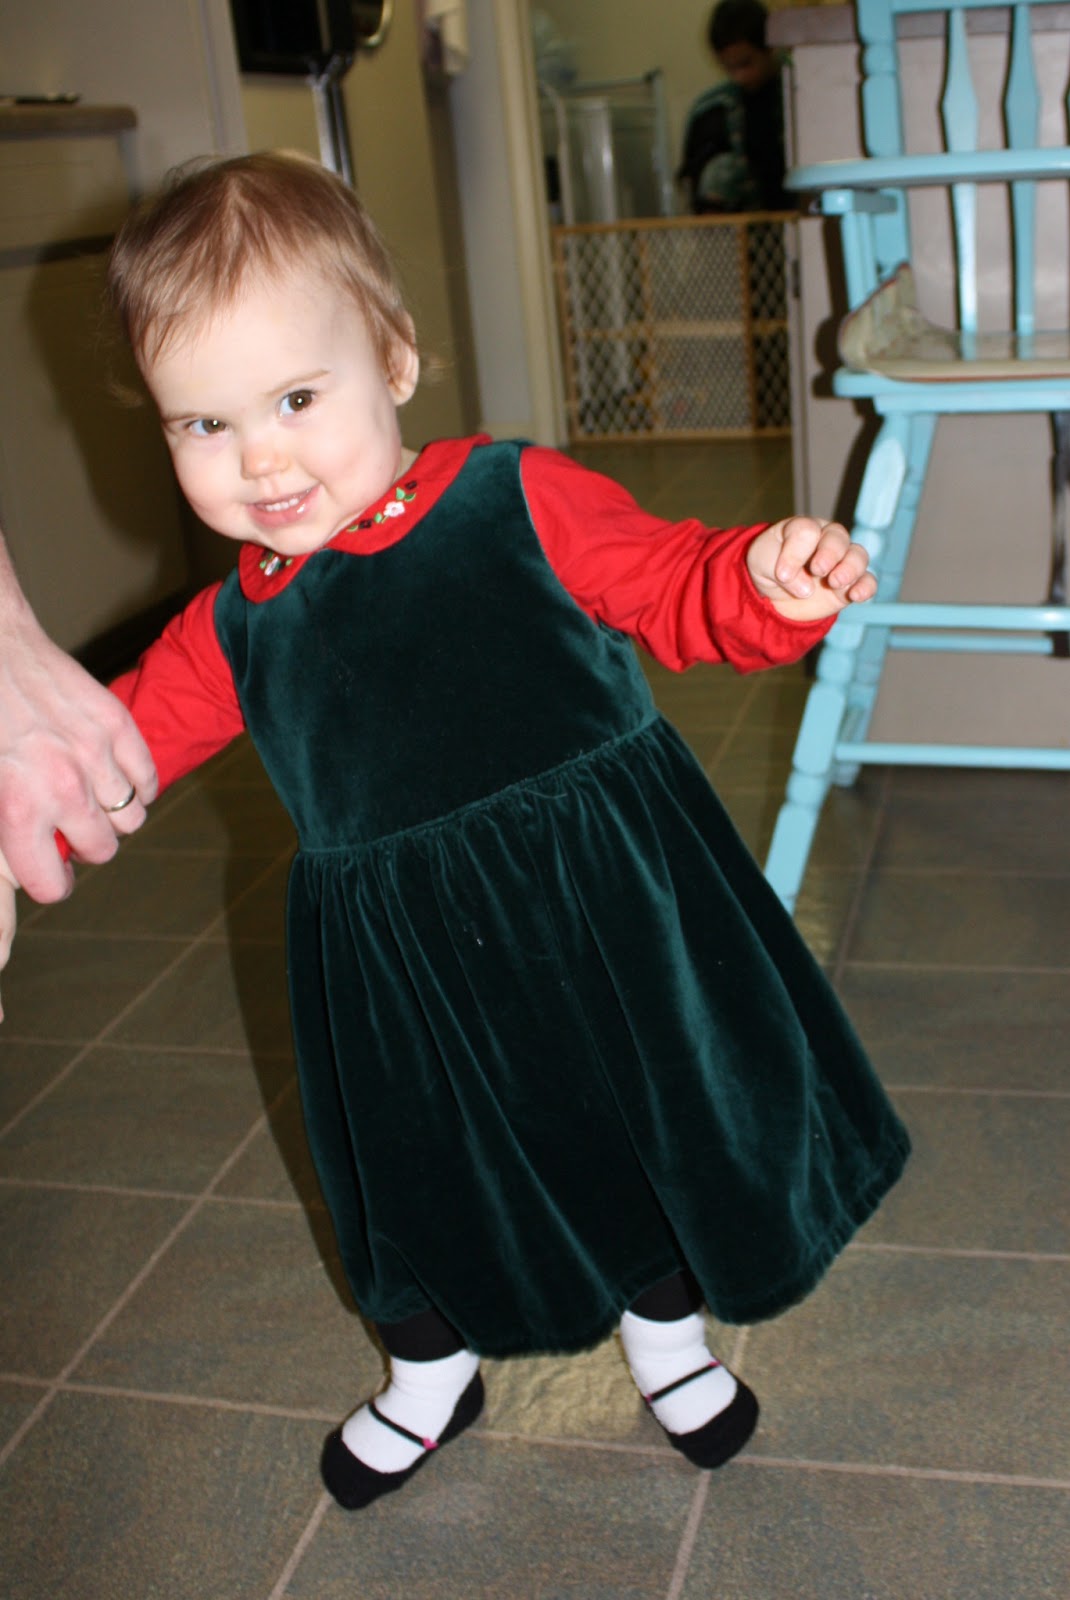
Don't you just love the look on her face? This quilt is a bit better, but not much. This is a store-bought quilt that I bought when I was a teenager. Yep, I was a typical teen who saved up her allowance to buy home decor...

Yet another store bought quilt. And a super cute baby.

I've always admired double wedding ring
quilts, but I never owned one until DH bought this for me many
Christmases ago. At the time, our entire dwelling was done in white,
blue, yellow and green I still love the color combination, but in much
smaller doses.

Just in case you couldn't tell, the next few pics were taken around Valentine's Day.

My little Sweetheart.

The background for this picture was two swaddling blankets. I really like the Aden and Anais blankets.

This picture, taken right at the 6 months mark, has a very special background. My MIL cross-stitched the Precious Moments pictures on this throw when she was pregnant with DH. DH, his siblings, and all of the grandkids have had their pictures taken with the throw when they turn 6 months old. I was terribly nervous the entire time the throw was in my possession and I was relieved to return it to her.

This is Hobby Lobby fabric,

still Hobby Lobby fabric,

...and, more Hobby Lobby fabric.

This is a Peanuts bed sheet that has an around-the-world theme. I use this as a curtain in the schoolroom (which is currently serving as BB's playroom until Grace learns to not eat Legos).

I LOVE this fabric - and her pose! To me, this fabric is so sweet and vintage-inspired. I really want Grace to have a dress made out of this fabric - something with lace trim, puffed sleeves and a sash in the back perhaps. I bought this fabric at Hancock fabric years ago, and have kept it just in case. So glad to have a chance to use it!

This is another fabric I love. I either want to use the fabric to make an outfit for Grace, or to make toddler bedding for her.

Whew! You have made it to the end of this installment! This quilt in the background is a lap quilt that I made. I hand-stitched the top when I was still teaching. I didn't get around to attaching it to the bottom and hand-quilting it though until we moved into this house. I spend many a night staying up late watching Buffy and Angel on Netflix while sewing this, as I am not a fast sewer at all!